
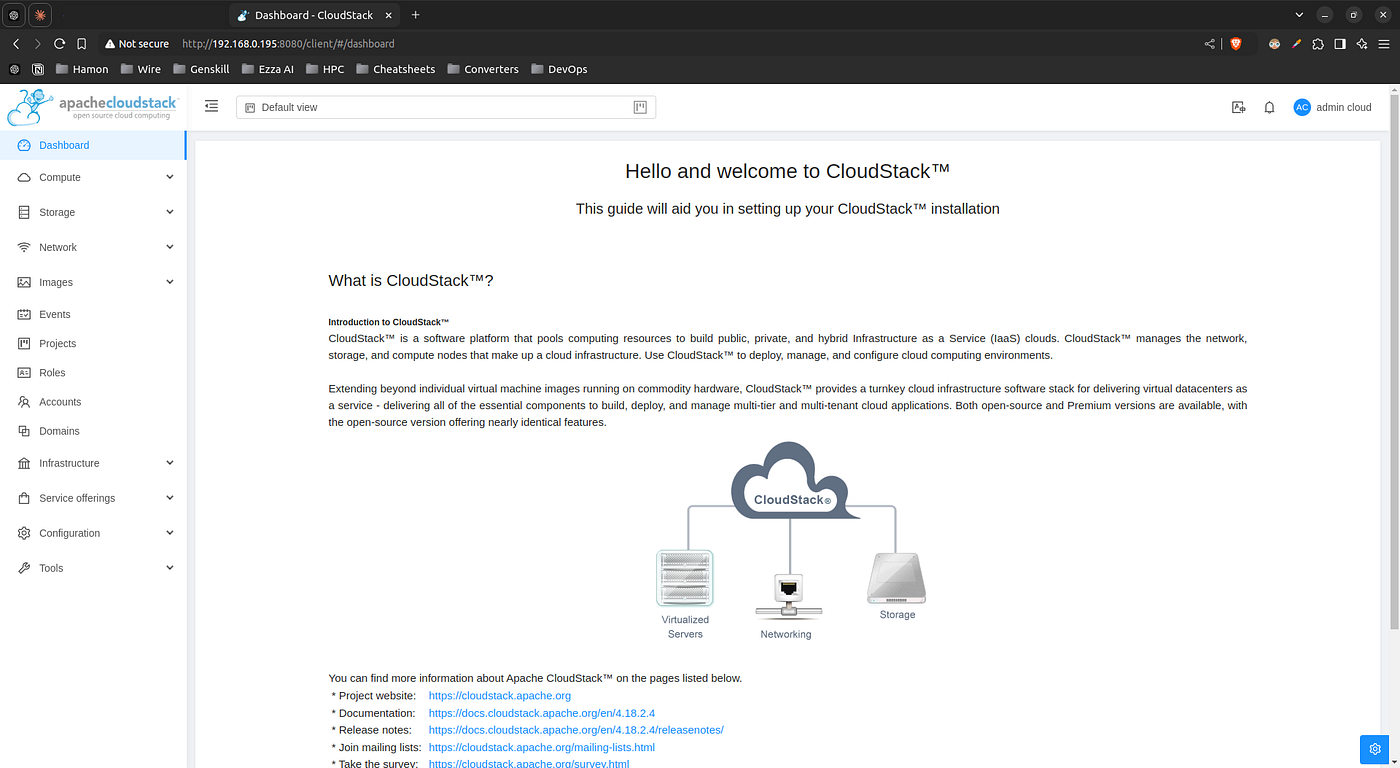
What is CloudStack?
Apache CloudStack is an open-source Infrastructure as a Service (IaaS) cloud computing platform enabling organizations to build and manage their cloud infrastructure. Think of it as your private alternative to public cloud services like AWS or Azure but with complete control over your infrastructure.
Key Features of CloudStack
- Resource Management: CloudStack manages the network, storage, and compute resources in your data center, allowing you to create and maintain a private or hybrid cloud environment.
- Multi-Tenancy: It supports multiple users and accounts with different resource access and isolation levels.
- Network Management: Offers sophisticated networking features including VLANs, Security Groups, and Load Balancing.
- Storage Flexibility: Supports various storage solutions including local storage, shared mounting points, and block storage.
- Hypervisor Agnostic: Works with multiple hypervisors including KVM, XenServer, and VMware.
- User Interface: Provides a user-friendly web interface and a comprehensive API for automation.
Core Concepts
- Zones: The largest organizational unit in CloudStack, typically representing a single datacenter
- Pods: A collection of hosts and storage in the same subnet
- Clusters: A group of identical hosts running the same hypervisor
- Hosts: Individual servers that provide computing resources
- Primary Storage: Storage for running VM instances
- Secondary Storage: Storage for templates, snapshots, and ISO images
Creating Infrastructure with Terraform
After setting up CloudStack following Rohit Yadav’s guide https://rohityadav.cloud/blog/cloudstack-kvm/, we can use Terraform to create and manage our cloud infrastructure. Here’s a comprehensive example of creating an Ubuntu VM with all necessary networking components:
Terraform Configuration for Ubuntu VM Creation:
terraform {
required_providers {
cloudstack = {
source = "cloudstack/cloudstack"
version = "0.5.0"
}
}
}
provider "cloudstack" {
# Configuration options
api_url = var.api_url
api_key = var.api_key
secret_key = var.secret_key
}
variable "api_url" {
description = "API URL"
type = string
default = "http://X.X.X.X:8080/client/api"
}
variable "api_key" {
description = "API key"
type = string
default = "wery5n03234....."
}
variable "secret_key" {
description = "Secret key"
type = string
default = "b90mmfu48902fk...."
}
# First get the template
resource "cloudstack_template" "template1" {
name = "Ubuntu 18.04 LTS"
os_type = "Ubuntu 18.04 LTS"
zone = "HPCInfra Zone"
url = "http://dl.openvm.eu/cloudstack/ubuntu/x86_64/ubuntu-18.04-kvm.qcow2.bz2"
format = "QCOW2"
hypervisor = "KVM"
}
# Create the network
resource "cloudstack_network" "isolated_net" {
name = "TERRAFORM-isolated"
cidr = "10.0.0.0/24"
network_offering = "DefaultIsolatedNetworkOfferingWithSourceNatService"
zone = "HPCInfra Zone"
}
# Create the VM
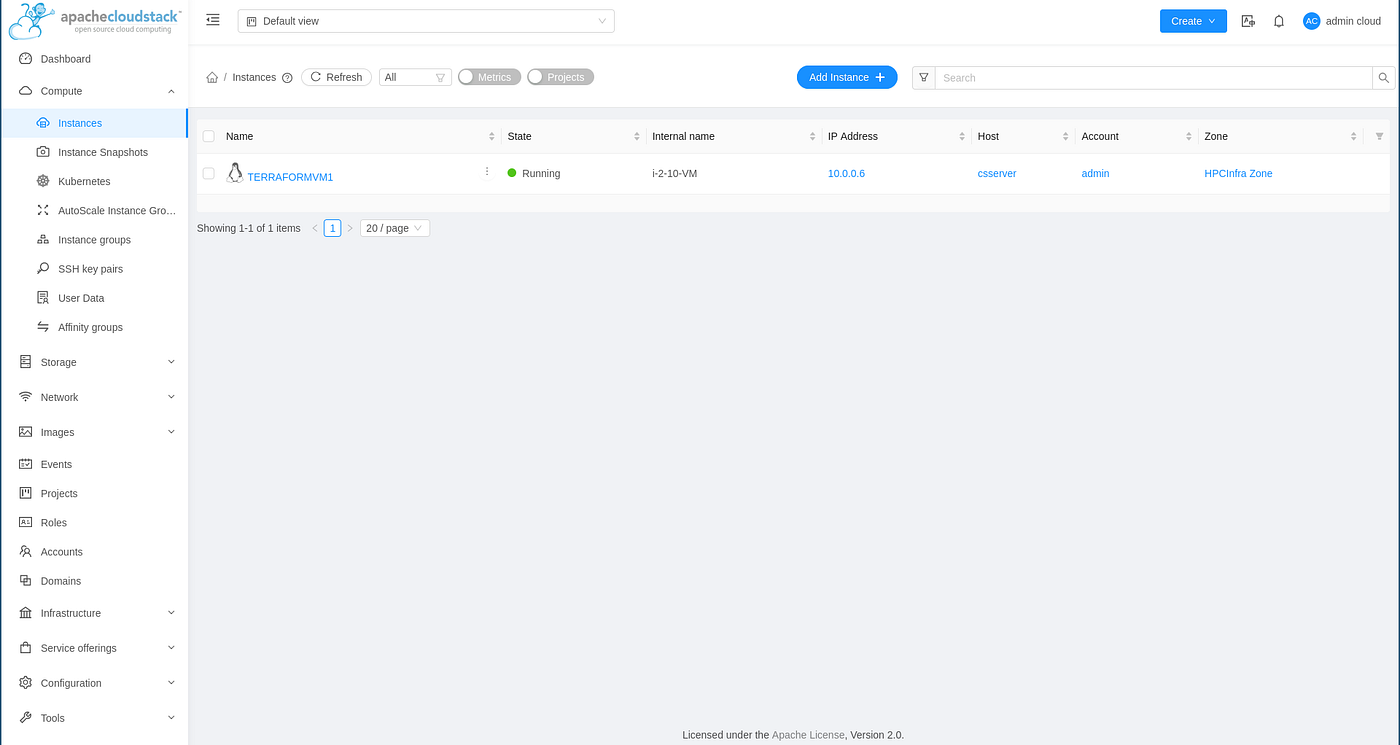
resource "cloudstack_instance" "VM1" {
name = "TERRAFORMVM1"
service_offering = "Small Instance"
template = cloudstack_template.template1.id
network_id = cloudstack_network.isolated_net.id
zone = "HPCInfra Zone"
expunge = true
}
# Create a public IP address for the network
resource "cloudstack_ipaddress" "public_ip" {
network_id = cloudstack_network.isolated_net.id
}
# Configure firewall rules for the public IP
resource "cloudstack_firewall" "public_ip_firewall" {
ip_address_id = cloudstack_ipaddress.public_ip.id
rule {
cidr_list = ["0.0.0.0/0"]
protocol = "tcp"
ports = ["80", "22"]
}
}
# Configure port forwarding rules
resource "cloudstack_port_forward" "public_ip_port_forward" {
ip_address_id = cloudstack_ipaddress.public_ip.id
forward {
protocol = "tcp"
private_port = 80
public_port = 80
virtual_machine_id = cloudstack_instance.VM1.id
}
forward {
protocol = "tcp"
private_port = 22
public_port = 22
virtual_machine_id = cloudstack_instance.VM1.id
}
}
# Add egress firewall rules for the private network
resource "cloudstack_egress_firewall" "basic_firewall" {
network_id = cloudstack_network.isolated_net.id
rule {
cidr_list = ["0.0.0.0/0"] # Allow all outbound traffic
protocol = "all"
}
}
# Output the public IP address
output "public_ip_address" {
value = cloudstack_ipaddress.public_ip.ip_address
}
# Output the VM's private IP address
output "vm_private_ip" {
value = cloudstack_instance.VM1.ip_address
}

This Terraform configuration:
- Sets up a new isolated network
- Creates an Ubuntu 18.04 VM
- Configures networking with both private and public IPs
- Sets up firewall rules for SSH (port 22) and HTTP (port 80) access
- Configures port forwarding for secure access
- Establishes egress rules for outbound traffic
Common Issues and Solutions
During our setup, we encountered and resolved several common issues:
- Network Connectivity
- Ensured the bridge network was properly configured
- Verified host firewall settings
2. Storage Issues
- Checked storage permissions
- Verified mount points were accessible
3. VM Creation Problems
- Confirmed KVM was properly installed and running
- Verified libvirt service status
Next Steps
After getting the basic setup working, consider:
- Setting up additional security measures
- Configuring monitoring and alerts
- Adding more compute nodes
- Setting up high-availability
- Implementing backup solutions
Conclusion
Setting up CloudStack on a laptop provides an excellent learning environment and testing platform. While this setup isn’t suitable for production use, it’s perfect for understanding CloudStack’s architecture and features. As your needs grow, you can expand this setup to include more resources and eventually move to dedicated hardware.
 2026 Hamon Technologies Inc