
This is the best way to configure Firebase in Flutter project. Direct Flutter configuration using Firebase CLI has been announced since Flutter 2.8 release. It ease the installation process of FlutterFire across all supported platforms.
Create a Flutter and Firebase project
Create a new Flutter project using the following command or you can use with android studio:
flutter create flutter_chatapp
Open the project in your favorite code editor. I am choosing android studio.
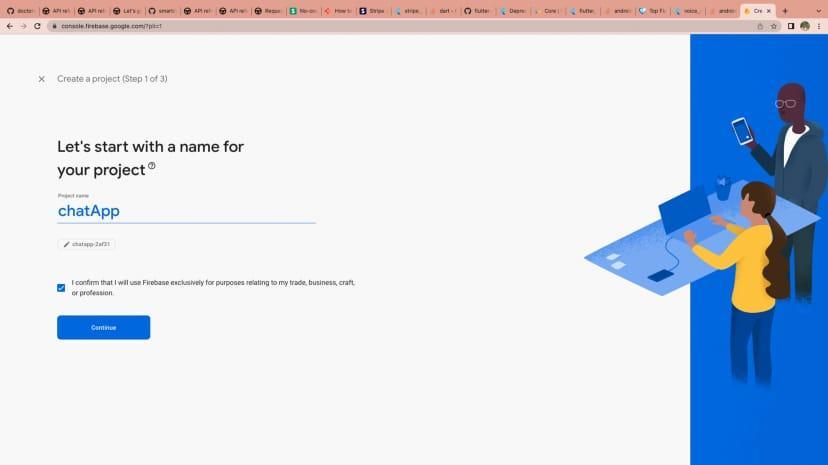
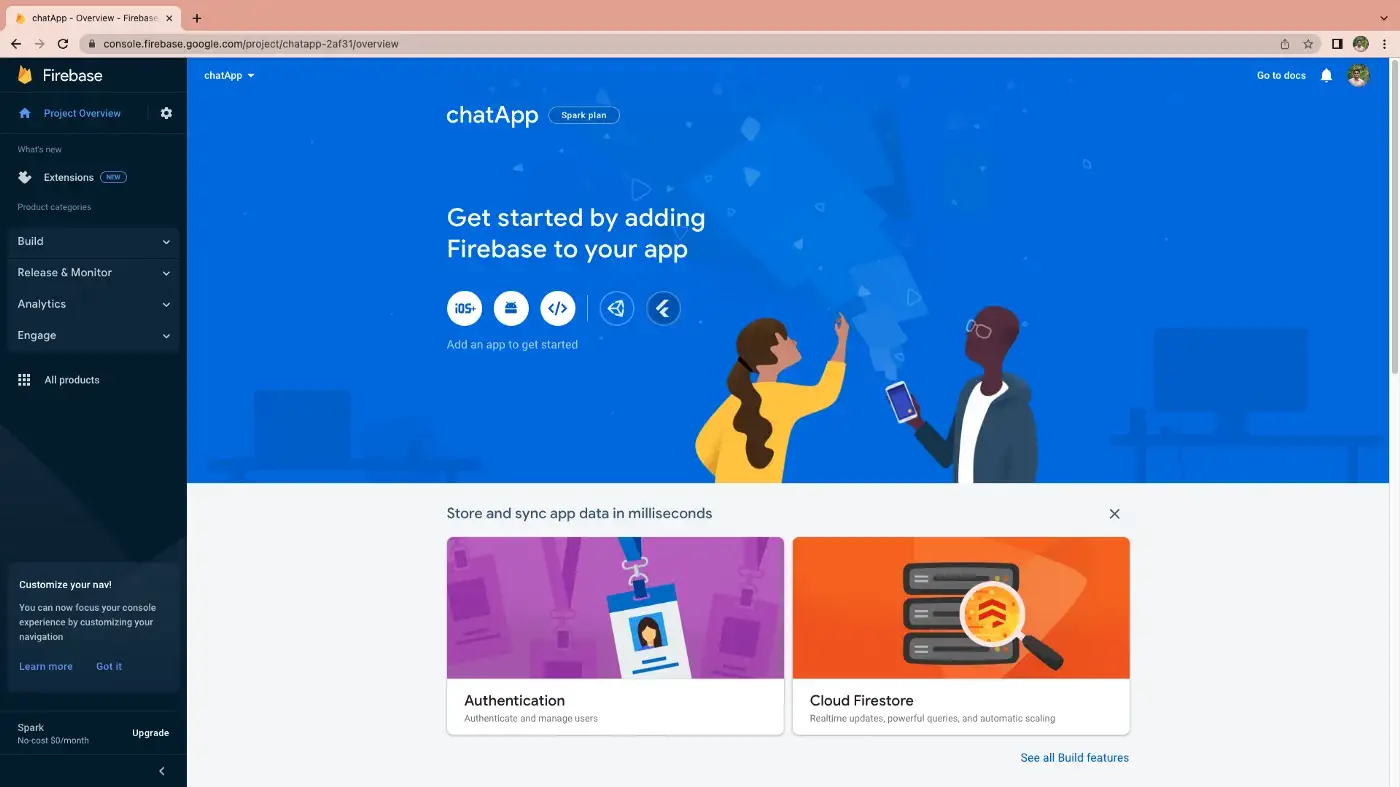
To integrate Firebase with your Flutter project, you have to create a new Firebase project by going to the console.
Set up Firebase for Flutter
Step 1: Install the required command line tools:
1. If you haven’t already, install the Firebase CLI.
2. Log into Firebase using your Google account by running the following command:
firebase login
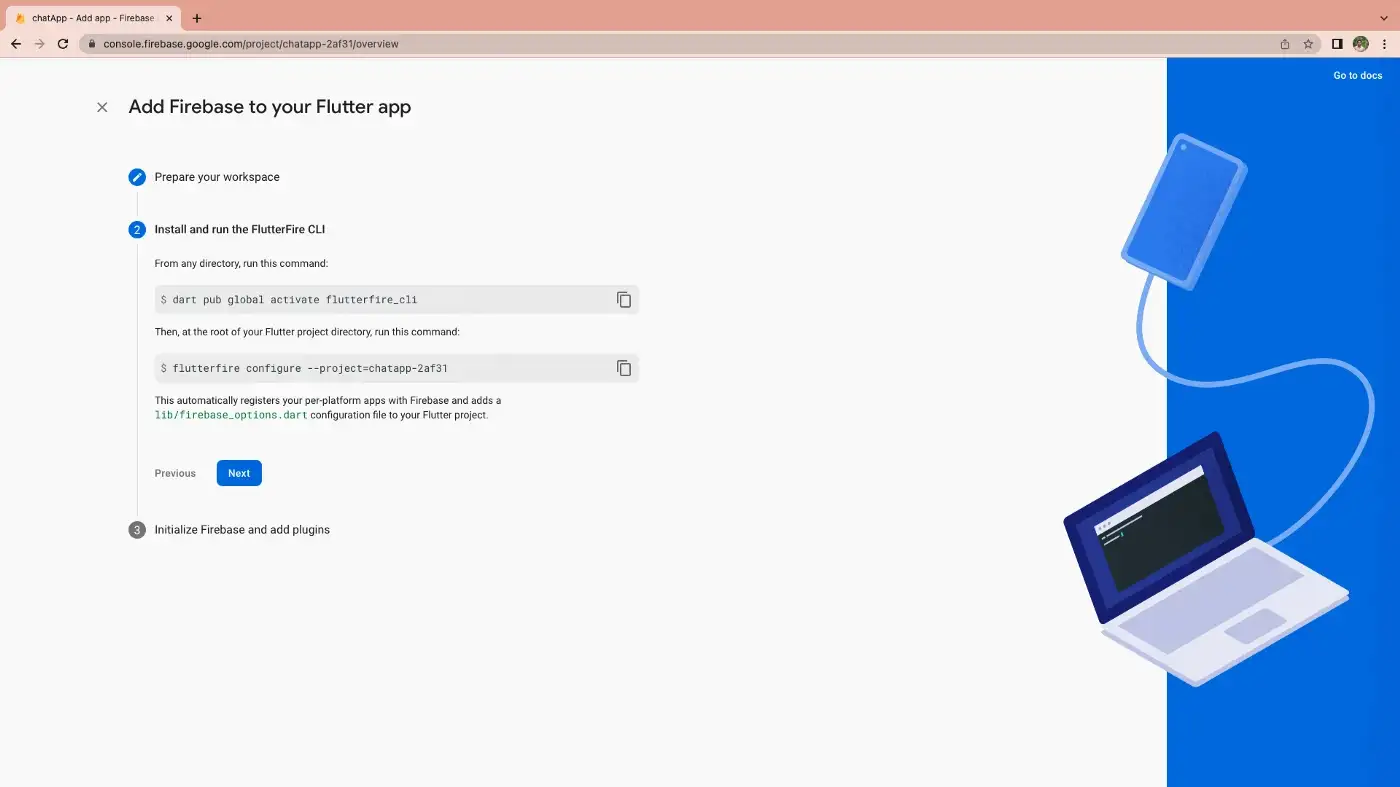
3. Install the FlutterFire CLI by running the following command from any directory:
dart pub global activate flutterfire_cli
Step 2: Initialize Firebase in your app:
Before you start to implement the authentication logic, you need to import the following plugin:
Install firebase_core — which is required to use any Firebase service in a Flutter app
dependencies:
 firebase_core: {latest version}
Step 3: Initialize Firebase in your app:
1. In your lib/main.dart file, import the Firebase core plugin and the configuration file you generated earlier:
2. In your lib/main.dart file, import the Firebase core plugin and the configuration file you generated earlier:
await Firebase.initializeApp(
 options: DefaultFirebaseOptions.currentPlatform,
);
3. Rebuild your Flutter application:
flutter run
 2026 Hamon Technologies Inc